Serve a Pelican Federation
A federation in Pelican refers to an instance of a data sharing ecosystem where memebers can share and access data as objects. To allow such an exchange of data to work, Pelican has two top-level central server components to coordinate origins and caches in the federation, direct client requests to the proper storage server, and manage namespace registration. They are the director and the registry. A Pelican federation requires both a director and a registry to be set up first before any origin or cache server can join the federation or any client can access objects in the federation.
Before Starting
Install Pelican
If you haven't installed Pelican, follow the instructions to install pelican.
Prepare TLS Credentials
Pelican servers use https for serving its web UI, handling objects transfer requests and internal http requests. https requires a set of credential files in place to work. For details on how to set up the TLS credentials, refer to the documentation in Serve an Origin.
Serve a Registry
The Pelican registry manages namespace registration and public key distribution. An origin or cache will automatically attempt to register their namespace when they are started. A federation user may also register a namespace without running a storage server by visiting the registry website through https://<your-registry.com>.
Get OIDC Credential (Required)
The Pelican registry follows OIDC (opens in a new tab) for user authentication, and CILogon (opens in a new tab) is our OpenID Provider by default, which enables single sign-on for users with an account associated with an institution that joins CILogon. (Check out this page (opens in a new tab) for institutions in CILogon)
For Pelican registry to work, you need to obtain a client id and associated client secret from CILogon. This page (opens in a new tab) details how you can request a client credential. You will need to register your client at https://cilogon.org/oauth2/register (opens in a new tab) and wait for approval before proceeding. Below is a guidance on how to fill in the registration form for CILogon.
Client Name: a human-readable name of your service. For example: Pelican Data FederationCallback URLs: fill inhttps://<hostname>:<server_port>/api/v1.0/auth/oauth/callbackwhere<hostname>:<server_port>is your server's public endpoint. For example,https://example-origin.org:8444/api/v1.0/auth/oauth/callbackClient Type: selectConfidentialScopes: selectemail,openid,org.cilogon.userinfo, andprofileRefresh Tokens: selectNo
Once approved, you will get your client_id and client_secret from CILogon. Pass them as configuration parameters and configuration files to Pelican.
-
Set the
OIDC.ClientIDconfig parameter to your<client_id>value. -
Create a file named
/etc/pelican/oidc-client-secrettouch /etc/pelican/oidc-client-secret -
Copy and paste your
client_secretinto the file you just created. Please don't share yourclient_secret.
If you prefer to store your client_secret file in a path different from the default file path, change OIDC.ClientSecretFile to your desired file location.
Bypass Required Credential Check
To run the registry without CILogon credentials, create two files named /etc/pelican/oidc-client-id and /etc/pelican/oidc-client-secret and populate the files with non-empty content. Pelican checks if the files exist and are non-empty. It won't check the content of the file.
Note that, by doing this, when users attempt to use CILogon to login to the registry they will get an error page from CILogon and it's only possible to login using admin password.
Launch the Registry
That's it! Now you can launch the registry by running the following command:
pelican registry serveand you will see the following message:
Pelican admin interface is not initialized
To initialize, login at https://<hostname>:8444/view/initialization/code/ with the following code:
865309
Note that your code will be different from what is being shown here.
By default, a registry runs on port 8444. You may change the port number by passing -p <port> when serving
the registry or by setting Server.WebPort in the configuration file.
Now you want to initialize the admin account for your registry web UI. You may refer to Login to Admin Website for details.
Once you finish the initialization, you should be able to see the following page as an admin user (lists are expected to be empty at a fresh start):
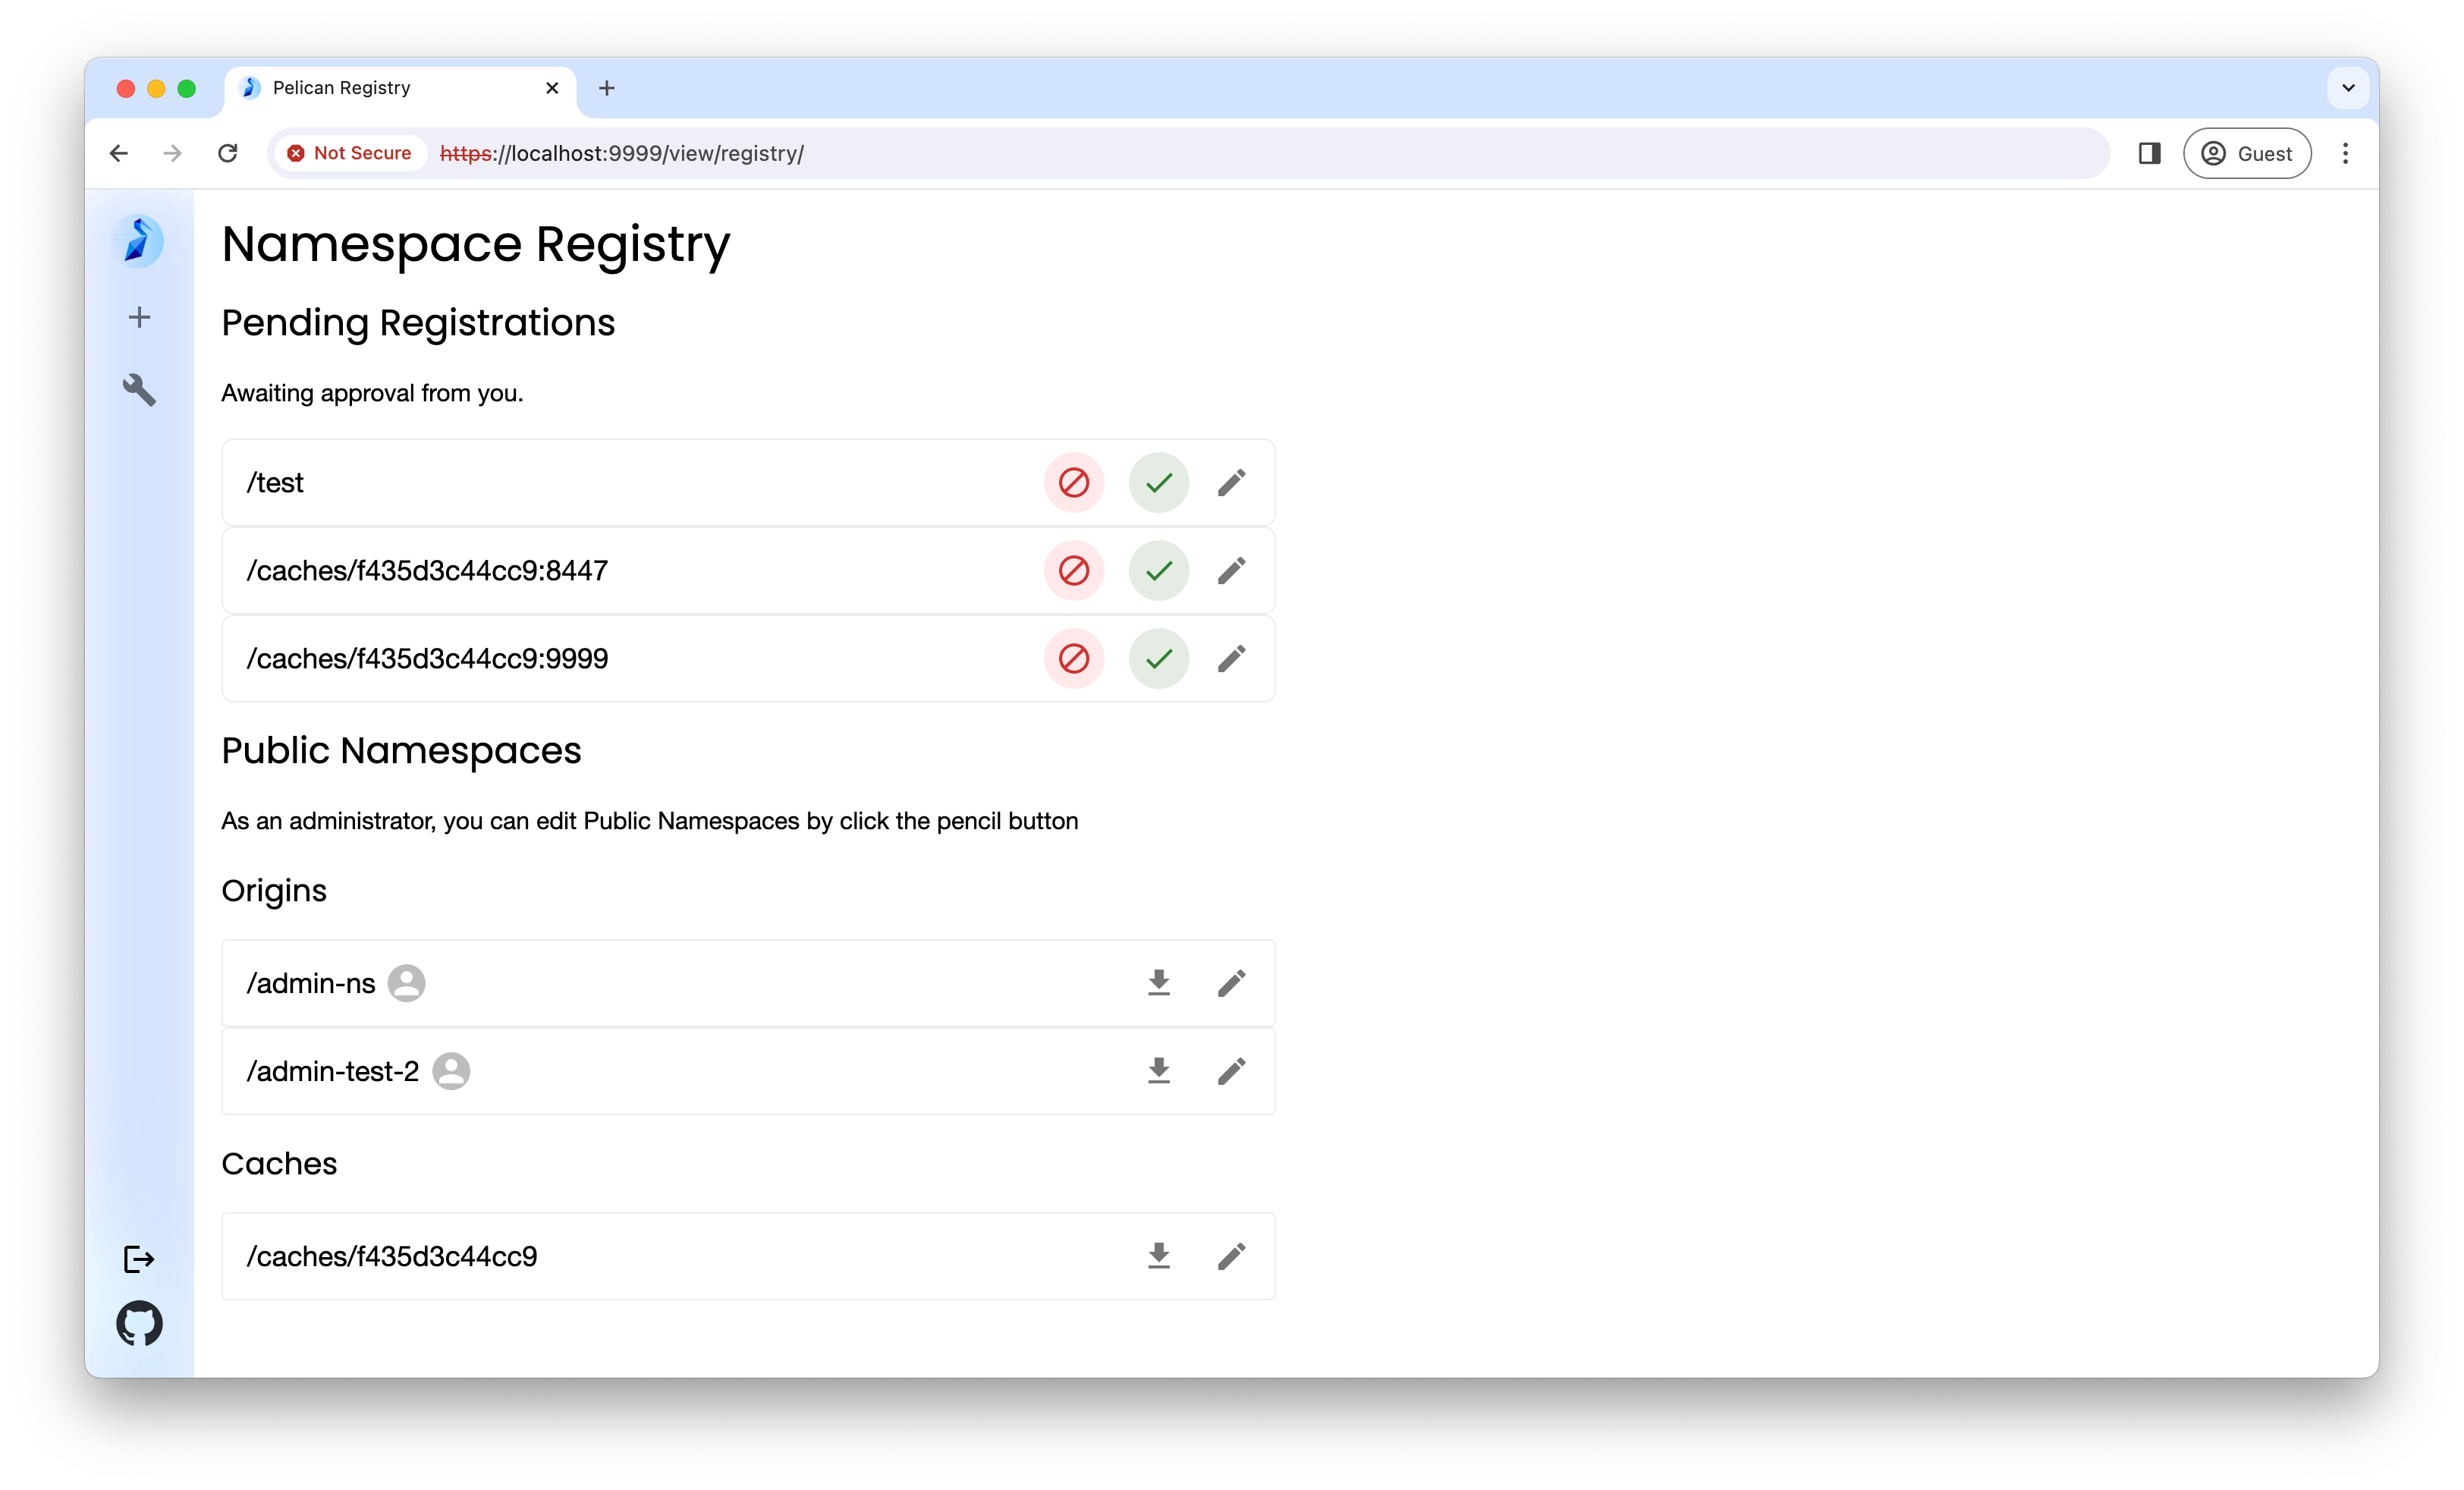
You may view and manage namespaces registered in your federation. Pending registrations are shown as the first list and you can click each namespace strip for more detailed information. You can click the check button to approve a namespace registration or the cross button to deny the registration. As an admin user, you can also edit the registration by clicking the pencil icon.
For approved namespaces, you can download the public key associated with the namespace by clicking the downward-arrow button.
The homepage of the registry web UI is also publicly accessible, meaning users can see a list of approved namespaces without logging into the registry. Denied and pending registrations are hidden from the public view. The image below shows what the public view looks like.

Useful Configurations for the Registry
There are a couple of configuration parameters you could use to customize the behavior of your registry. Here we highlight the ones that are most frequently set for an admin. You may refer to the full set of registry parameters in the Parameters page.
Server.UIAdminUsers
Registry.AdminUsersis deprecated in Pelicanv7.7.0. UseServer.UIAdminUsersinstead.
By default, Pelican registry only has one user with admin privilege, which is whoever starts the registry service and initializes the web UI with the admin password.
However, Pelican also allows you to pass a list of CILogon user identities and grant them the admin privilege. This requires you have your CILogon client_id and client_secret set up. The user identity of each admin user can be found on their https://cilogon.org/ (opens in a new tab) user page, under "User Attributes", CILogon User Identifier, which looks something like http://cilogon.org/serverA/users/123456. Once you have the identifiers, simply pass them as an array to Registry.AdminUsers:
Server:
  UIAdminUsers: ["http://cilogon.org/serverA/users/123456"]
Registry.RequireOriginApproval
By default, a Pelican registry allows any origin to join the federation and serve objects (not the case if running in OSDF mode). You can set Registry.RequireOriginApproval if you want to review registration details of a new origin before allowing it to join your federation. With Registry.RequireOriginApproval == true, a new origin can successfully register against your registry, but the director will not be able to direct object requests to the unapproved origin.
A registry admin may edit, review, approve, or deny a new origin registration in your registry Web UI.
Registry.RequireCacheApproval
Similarly, Pelican by default allows any cache to join the federation. You can set Registry.RequireCacheApproval to true in order for caches to require approval before they can serve an object.
Registry.RequireKeyChaining
By default, Pelican requires namespaces requesting registration to possess a key matching any already-registered super/sub namespaces. For example, if a namespace /foo/bar is already registered, then registration of /foo or /foo/bar/baz can only be done using the public key registered to /foo/bar.
Registry.Institutions and Registry.InstitutionsUrl
When a user wants to register a namespace In the registry web UI they must specify which institution this namespace is for. This is a list of options you need to provide. To do so you may either feed a list of name and id pairs of available institutions to register to Registry.Institutions or, if you already have a web endpoint to serve such information, you may pass the URL to Registry.InstitutionsUrl. Please refer to https://docs.pelicanplatform.org/parameters#Registry-Institutions (opens in a new tab) for details.
Serve a Director
A Pelican director handles data distribution in a Pelican federation. It directs object requests from a Pelican client to the proper object provider (which can be a cache or an origin). It also maintains a collection of actively running origin/cache servers in the federation.
Get MaxMind License key (required)
A Pelican director uses the MaxMind GeoLite City database (opens in a new tab) to determine which cache is nearest to a client's IP address. The database, if not already found, will be downloaded automatically when a director is served and a valid key is present. The database is free to use, but you need a GeoLite2 account and provide a license key to Pelican so that we can download the database for you. Please follow the instructions here (opens in a new tab) to register a free account (opens in a new tab) and get your license key (opens in a new tab).
Once you have the key, copy and paste it to a desired location on your server.
Then pass the file location to Director.MaxMindKeyFile.
Set Registry URL (required)
A Pelican director needs to talk to the registry to get the public keys for namespaces. You will need to set Federation.RegistryUrl to the public endpoint of your registry
for your Pelican director to work. An example value looks like https://your-registry.org:9999
Director as a Federation
For Pelican origin, cache, and client, they need to know where the federation they belong to so that they can make themselves known to other services or a access objects. This can be done by either manually passing configuration values (e.g. Federation.DirectorUrl, Federation.RegistryUrl, etc) or by setting the
Federation.DiscoveryUrl and Pelican will fetch the metadata from the endpoint automatically. Pelican uses Federation.DiscoveryUrl to discover where a federation's central services live, including the registry and director.
By default, Pelican director hosts the federation discovery endpoint. Therefore, for origins and caches in your federation, as well as Pelican clients that want to access objects in your federation, their Federation.DiscoveryUrl value can be set to the director's public URL, i.e. https://<your-director-hostname>:<director-web-port> or https://<your-director-hostname> if the port number is simply 443.
Make sure your director is up and running before starting your origins and caches.
Set Support Contact Information (Recommended)
Director.SupportContactis only available for Pelican >=7.7.0
The Pelican director is your federation's entrypoint, and it is where other services in the federation can learn about each other. Because of this, it is also used to host the contact information for federation administrators. Setting values for the configuration options Director.SupportContactEmail and Director.SupportContactUrl causes the director to display the information through its website so that users know who and how to contact you for support. See Configuration page for details.
Director:
  SupportContactEmail: <your support email>
  SupportContactUrl: <url to other support resources>
Note that either SupportContactEmail or SupportContactUrl are optional. You may leave any of them empty is not needed.
Launch the Director
That's it! Now you can launch the director by running the following command:
pelican director serveand you will see the following message:
Pelican admin interface is not initialized
To initialize, login at https://<hostname>:8444/view/initialization/code/ with the following code:
865309
By default, a director runs on port 8444. You may change the port number by passing -p <port> when serving
the director or by setting Server.WebPort in the configuration file.
To finish setting up the web UI for the director, please refer to Login to Admin Website for details. Once you have finished the initialization and login with your admin password, you should be able to see the following page as an admin user (lists are expected to be empty at a fresh start):
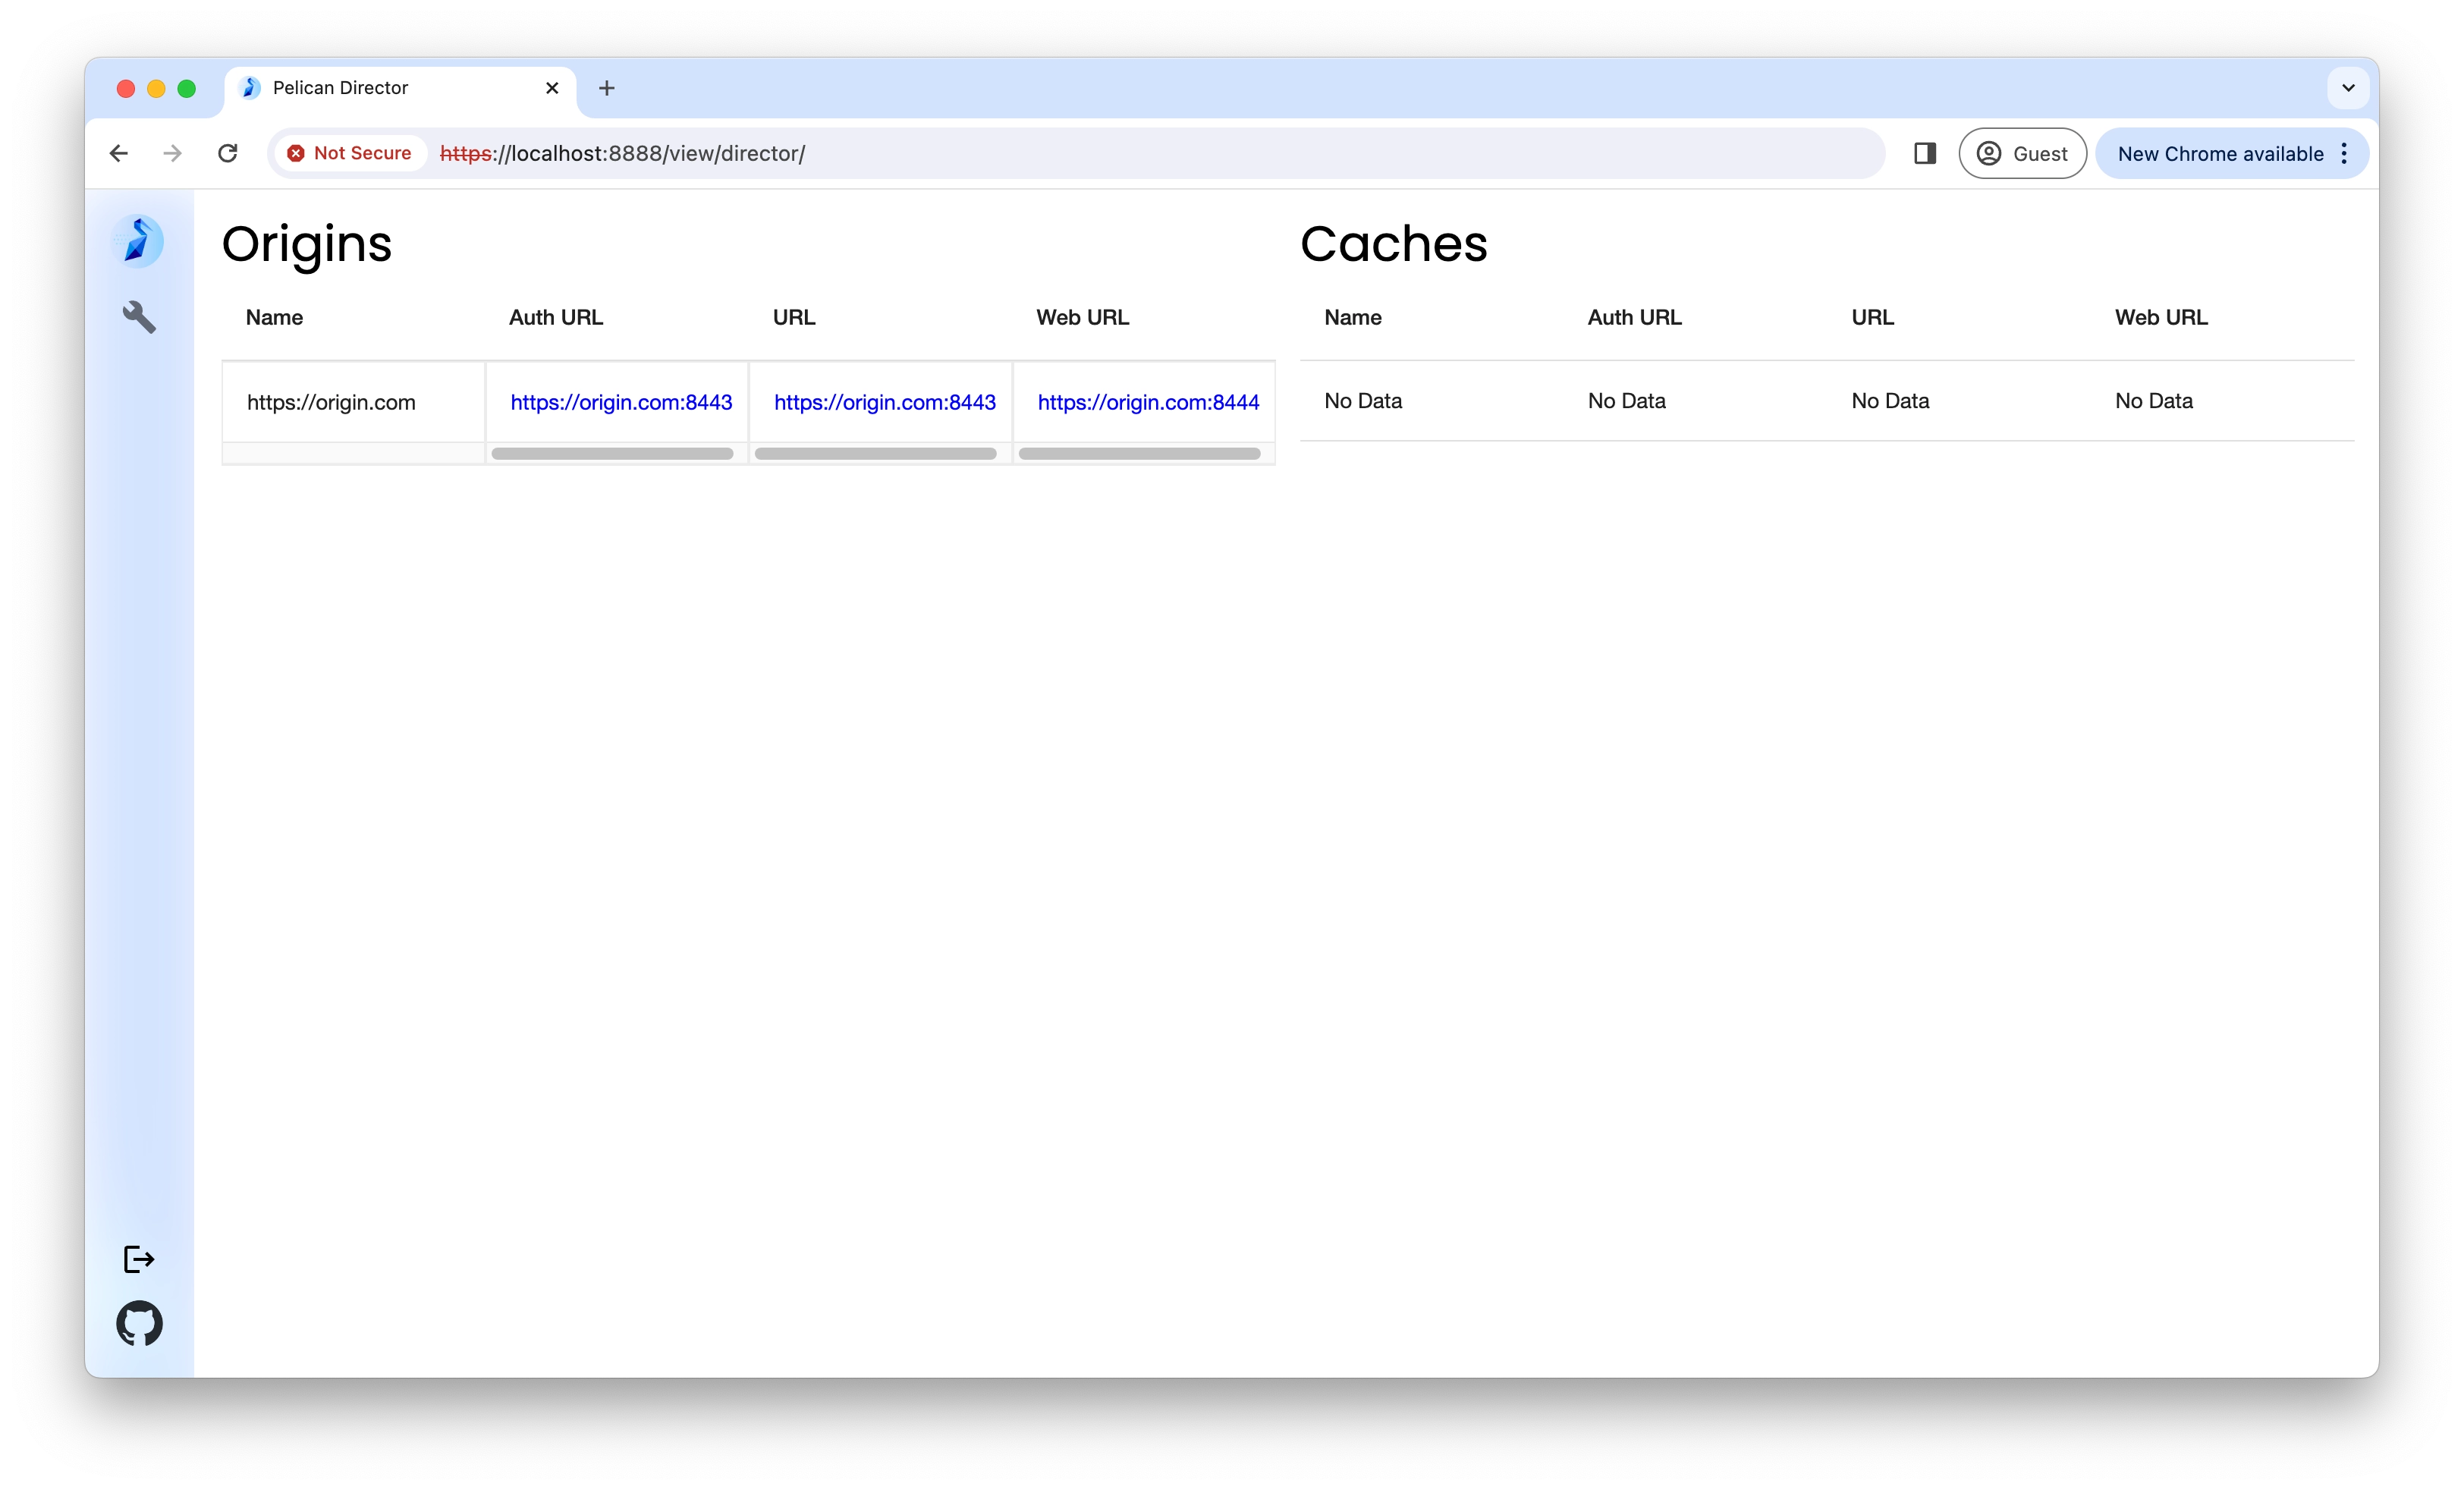
The "Origins" table and "Caches" table show the active origins and caches in the federtaion.
Useful Configurations for Director
There are a couple of configuration parameters you could use to customize the behavior of your registry. Here we highlight the ones that are most frequently set for an admin. You may refer to the full set of director parameters in the Parameters page.
Director.DefaultResponse
A Pelican director by default redirects object request from clients to the geospatially nearest cache in the federation to improve data transfer efficiency. If a director is hosted at https://director.com (opens in a new tab), then a GET request to https://director.com/foo/bar.txt (opens in a new tab) will be redirected to the nearest cache for namespace /foo. You may change the default response type of a redirect for director by setting Director.DefaultResponse. It can be either cache or origin. If set to origin, director will redirect the request to the origin, bypassing caches.
GeoIPOverrides
The MaxMind database may fail to return a valid longitute/latitute pair given a server IP. For example, the database does not support IPV6 addresses. In such cases, you may pass a list of IP addresses to GeoIPOverrides parameter whose GeoIP resolution should be overridden with the supplied Lat/Long coordinates (in decimal form). This affects both server ads (for determining the location of origins and caches) and incoming client requests (for determing where a client request is coming from).
Director.CacheResponseHostnames and Director.OriginResponseHostnames
You may allow the director to redirect client traffic to both caches and origins. You can do it by adding virtual hostnames to Director.CacheResponseHostnames for a cache response or Director.OriginResponseHostnames for an origin response. If a request is sent by the client to one of these hostnames, the director assumes it should respond with a redirect to a cache/origin.
If present, the hostname is taken from the X-Forwarded-Host header in the request. Otherwise, Host is used.